Reaching targets through a jump host
An SSH tunnel is described once and pointed at by every target and backup destination behind it, so rotating a jump host's key is one edit.
Why a tunnel is a thing of its own#
A target on a private network is the ordinary case in production, and a jump host is the ordinary answer. Keydra describes a jump host once, as a row, and everything behind it points at that row.
The alternative — a set of SSH fields on each connection profile — was the right size when one target sat behind one jump host, and the wrong size the moment there were twenty: twenty copies of the same key, and rotating it means editing twenty profiles and missing one.
A tunnel carries a Name, a Host and Port, a Username, a credential, and the host key it is expected to present.
One SSH session serves everything behind it. Twenty targets behind one jump host are one connection with the local forwards each of them needs, not twenty connections.
What can use one#
- Connection profiles
-
Tick Reach this target through an SSH tunnel on the profile.
- Backup destinations
-
An SFTP drop or an S3-compatible store on the far side of the same jump host. Not the public clouds: a forwarded port reaches a host and a port, and AWS, Azure and Google are named by an address inside a certificate, so the form refuses that combination rather than letting the connection fail later for a reason nobody can read off the row.
Pinning the host key#
A tunnel that pins no host key accepts anything that can answer on the jump host’s address — and everything Keydra holds for everything behind it travels through there. The interface says which tunnels do not pin one, and the test offers the key it saw so pinning is a click rather than a trip to a terminal.
Pinning stays optional, because refusing every existing tunnel on upgrade would be worse.
Adding a tunnel#
-
You hold
tunnel:manage. This is an administrator’s permission: a jump host carries a credential that reaches a whole network.
-
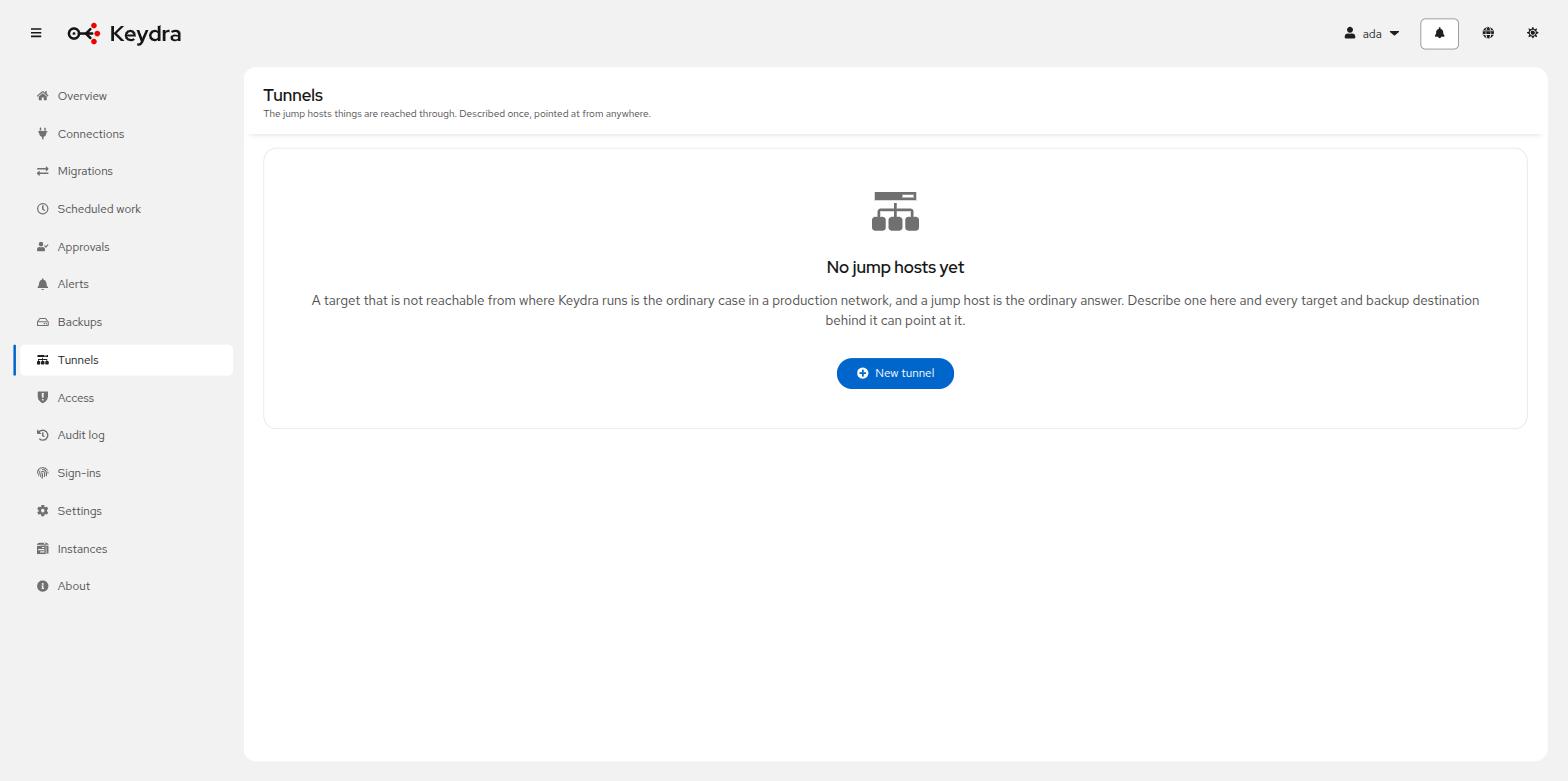
Go to Tunnels.
-
Click New tunnel.
-
On the first step, give a Name, Host, Port and Username.
-
On the Logging in step, supply either:
-
a Private key — choose a key file or paste the key, with a Key passphrase if it has one; or
-
a Password.
Both may be given, and the key is tried first. Either is stored encrypted and never written to disk.
-
-
On the Host key step, click Test connection.
-
When the jump host answers, the key it presented is offered. Click Expect this key to pin it.
-
Click Save.
The row appears under Tunnels, marked pinned rather than any key, and its Used by column reads nothing yet.
Click Test it at any time. On success the page says "<name>" works; on failure, "<name>" did not work, and a refused host key says which key it saw — which is the whole point of pinning one.
Rotating a jump host credential#
The reason a tunnel is a row is that rotating its key should be one edit rather than twenty.
-
You hold
tunnel:manage.
-
Go to Tunnels and choose Edit tunnel on the row.
-
On the Logging in step, supply the new Private key or Password. A field left empty keeps what is stored — the help text reads Leave empty to keep what is stored. Nothing can read a secret back to show it here.
-
Click Test connection.
-
Click Save.
Every target and destination in the row’s Used by column now reaches through the new credential. Their status returns to Checking… and then to Up.